
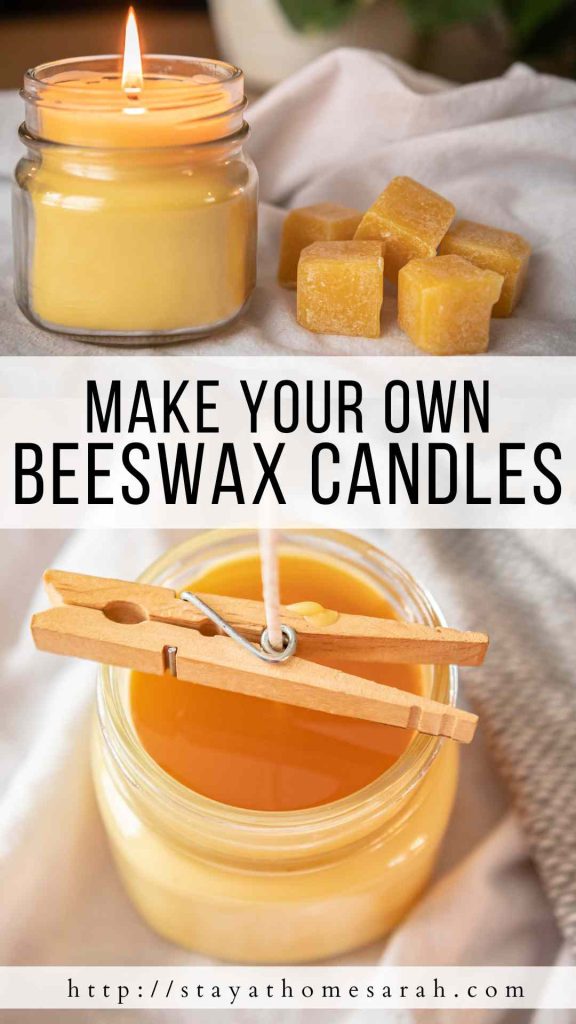
How To Make Homemade Beeswax Candles
Ditch the toxins found in wax and wicks of commercial candles by making your own DIY beeswax candle! Follow these easy step by step instructions to create naturally beautiful homemade candles that actually purify the air in your home instead of pollute it.
This post contains affiliate links. As an Amazon Associate, I receive a small commission at no additional cost to you. Read my full disclosure here.
Living in the Northwoods, we have a long winter season when it so nice to enjoy the ambiance provided by a warm glow of a candle. Reading in the early hours of the morning or soaking in a hot bath at night, a candle is such a cozy addition to any atmosphere. I used to love the variety of scents found in many commercial candles, especially the seasonal ones. That is until I realized that every time I was around a burning candle, my eyes would start to ache and a headache came on that would last for hours. This is one of the many reasons we have eliminated artificial scents.
Quite a few years ago, a friend gifted me a beeswax candle. I LOVED it! It had a slight scent of honey, burned for a very long time, and didn’t give me a headache. I burned it almost every day, and when it was gone, I decided to figure out how to make them myself. Turns out, candle making is so simple and so fun! It’s super satisfying to make your own candles from start to finish. There’s something really relaxing and luxurious about a candle, so obviously these beeswax candles make great gifts that will impress any recipient. Beeswax burns slowly too, so they last a super long time!

what’s wrong with commercial candles?
You’re probably already aware that artificial fragrances are not great for anyone’s health, but for scented candles, it goes even beyond the fragrance. The paraffin wax and wicks used in regular candles majorly pollute the indoor air and put off chemicals that are just as dangerous as second-hand smoke. The toxins released when paraffin wax is burned are the same toxins found in diesel fuel fumes- yikes! Additionally, many scented candles have wicks that contain heavy metals like lead, and after just a few hours of burning them, they can create levels of airborne heavy metals that are much higher than the acceptable limits. Read more about the affects of scented candles here. Not only are beeswax safe and nontoxic, they actually help improve indoor air quality!
everything you need to make your own beeswax candles –
- Purified Beeswax
- Coconut Oil
- Cotton Candle Wick
- 8 oz Glass Jar
- Clothespin
- Bamboo Skewer (optional, just makes clean up easier)
- Metal or glass pitcher
- Large saucepan
what kind of beeswax should I use?
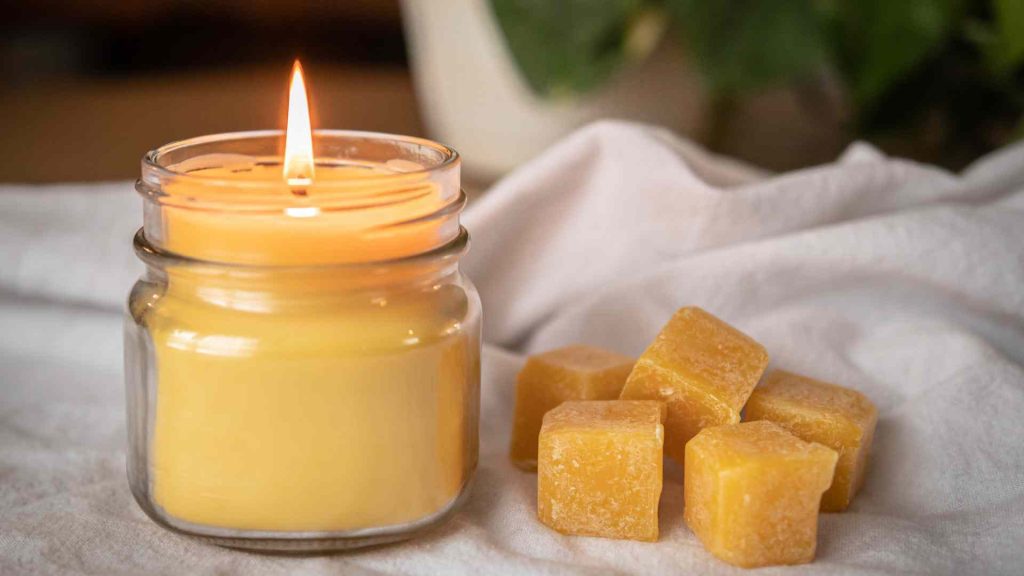
I use organic, refined beeswax in 0.5 oz cubes from my local health food store. You can either source it locally, find a local beekeeper or order it here on Amazon. Beeswax pellets are easier to weigh in case the bars are not each the exact weight they’re supposed to be. Whether you use blocks or pellets, make sure you measure the beeswax by weight so you make sure you’re using the right amount.
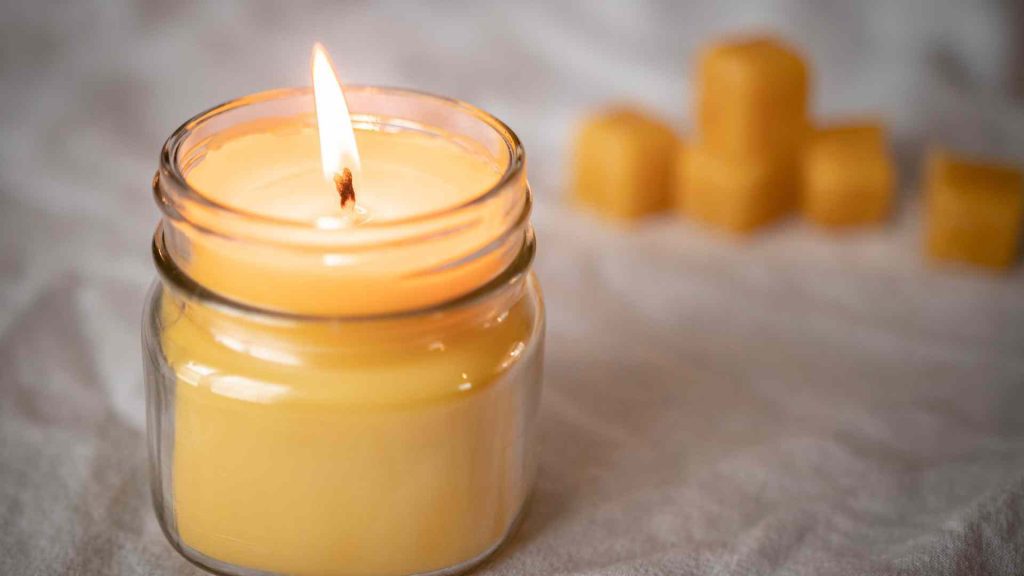
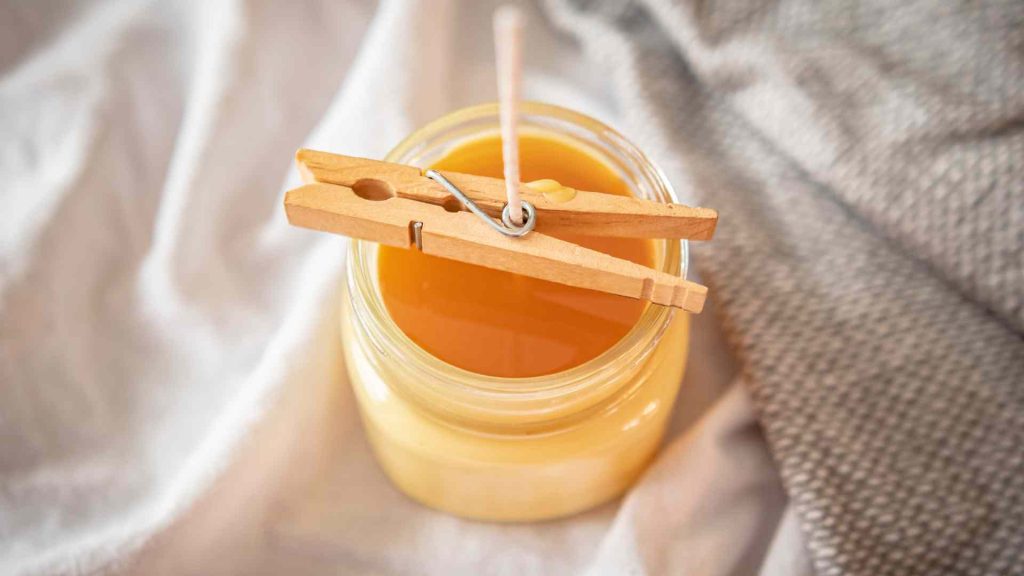
These homemade beeswax candles are a light yellow color when finished, as you would expect the natural color of yellow beeswax to be. You can buy white beeswax, but much of the time, white beeswax is bleached so I stay away from option altogether.
can I add essential oils?
You can add essential oils to beeswax candles to naturally give them a stronger scent. Just add them into the melted beeswax and oil before pouring into the candle jars. I have in the past, but I almost always skip it now. For a couple reasons – (1) You need to use a LOT of essential oils for the smell of the oils to come through when burning a beeswax candle. If you want to add them, I would recommend using strong oils like peppermint or lemongrass. And (2), I love the way beeswax candles smell without adding any other scents. They lend a faint honey scent that is really lovely.
EDITED TO ADD: Since I originally wrote this post, I switched to using Young Living Essential Oils almost exclusively. I noticed a huge difference in potency compared to other oils, which makes them great for beeswax candles! I love using Thieves Essential Oil, or woodsy scents such as Pine or Northern Lights Black Spruce.

do I have to add the coconut oil?
This recipe calls for 2 T of coconut oil in addition to the beeswax. The reason is so that the candles burn a little slower, and the wick doesn’t tunnel. Tunneling is when the wick burns down quickly without melting the wax at all on the outer ring of the candle. The small addition of coconut oil will prolong the life of your candle. I use coconut oil, specifically, because it is semi-solid at room temperature instead of liquid. A liquid oil, like olive oil, will not work as well for a candle.
what kind of wick should I use?
I use a medium cotton wick like the ones found here. These wicks have worked the best for me in combination with these jars. There are different wick sizes to choose from. The size and shape of your jar will determine which wick will work best, so if you’re using a different shape container, you may have to experiment with different size wicks to find the best match.
ingredients –
- 6 oz refined beeswax
- 2 Tbls coconut oil
That’s it!!

how to make a beeswax candle –
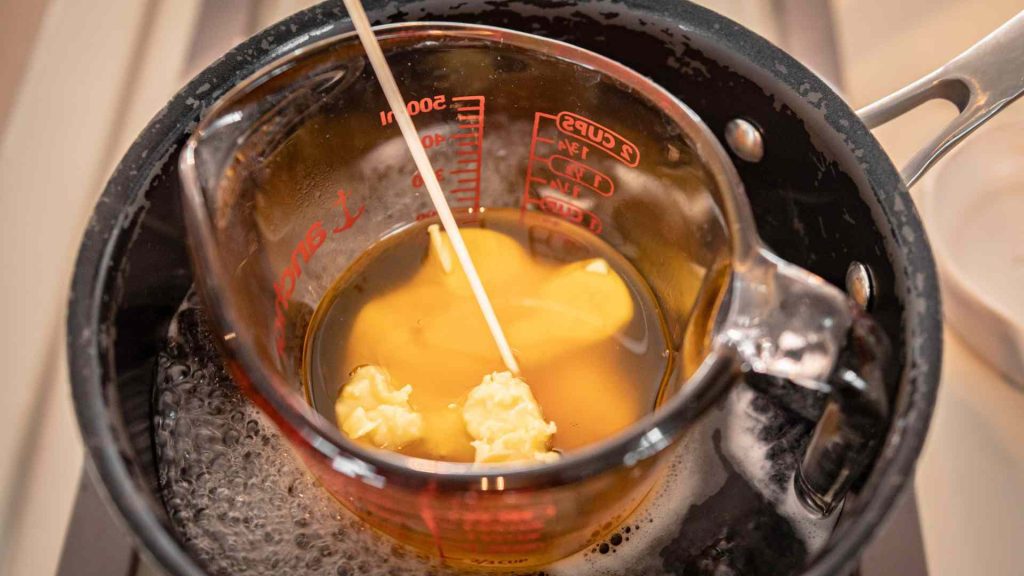
- Put a few inches of water in a large saucepan and heat on the stove over medium heat. Bring the water to a gentle boil.
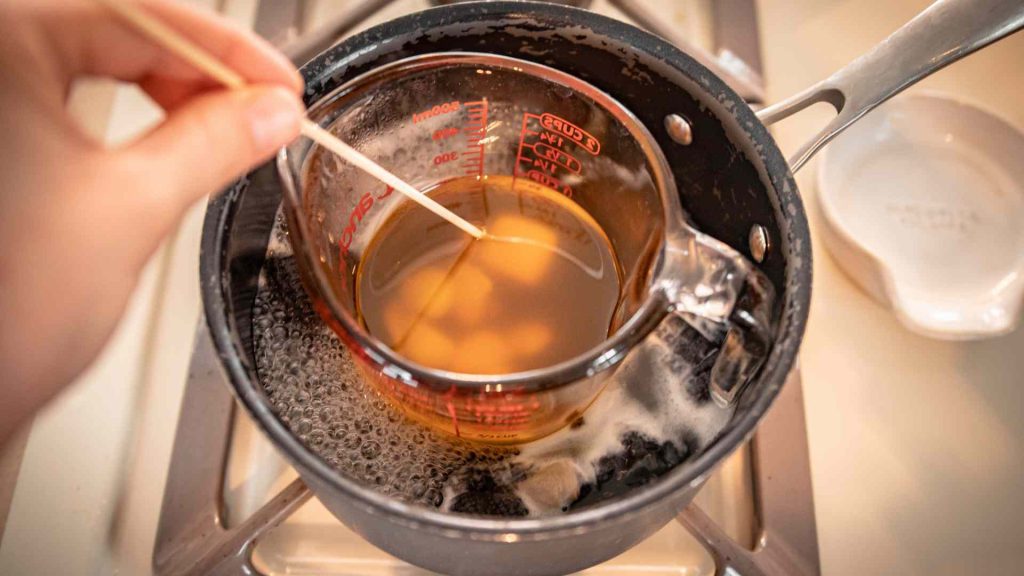
- Melt the wax and oil in your metal or glass pitcher inside the sauce pan of water (using the double boiler method). If the water is going to come over the sides of the pitcher, take some of the water out.
- Stir the melted wax and oil occasionally with a bamboo skewer. You can also use a spoon, but beeswax is tricky to clean off of utensils, so using something disposable helps with cleanup.
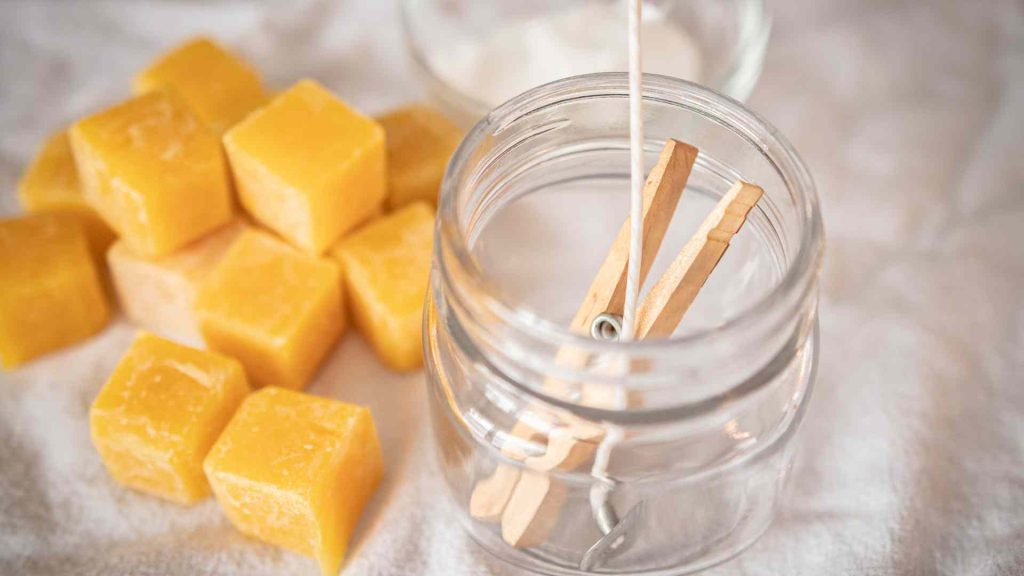
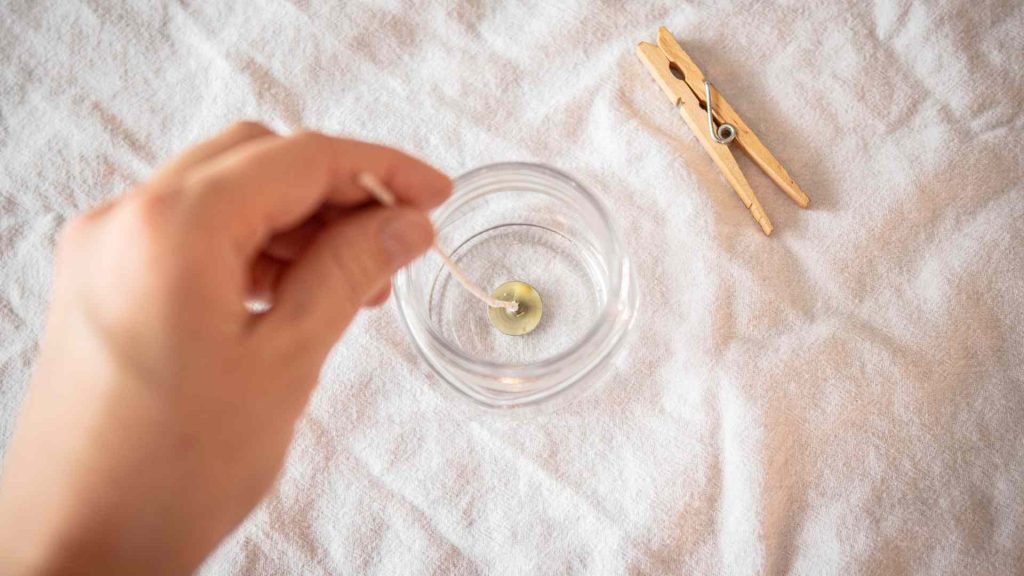
- After the wax has started to melt, dip the metal base of the wick into the melted oil and place on the bottom of the jar. Hold it for a few seconds while the oil hardens, keeping the wick in place. (You can also use a wick sticker like these to keep the wick in the center of the jar.)
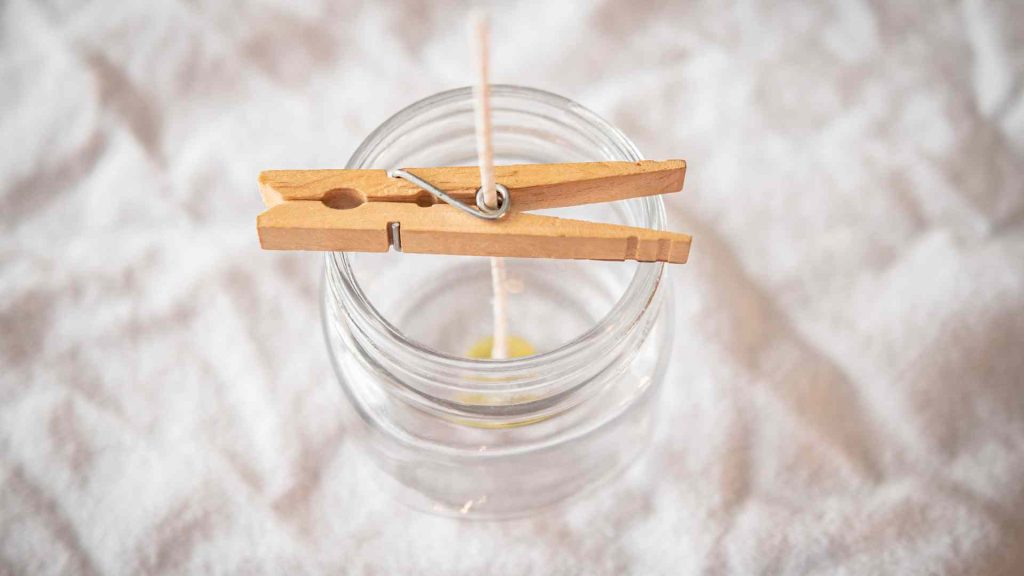
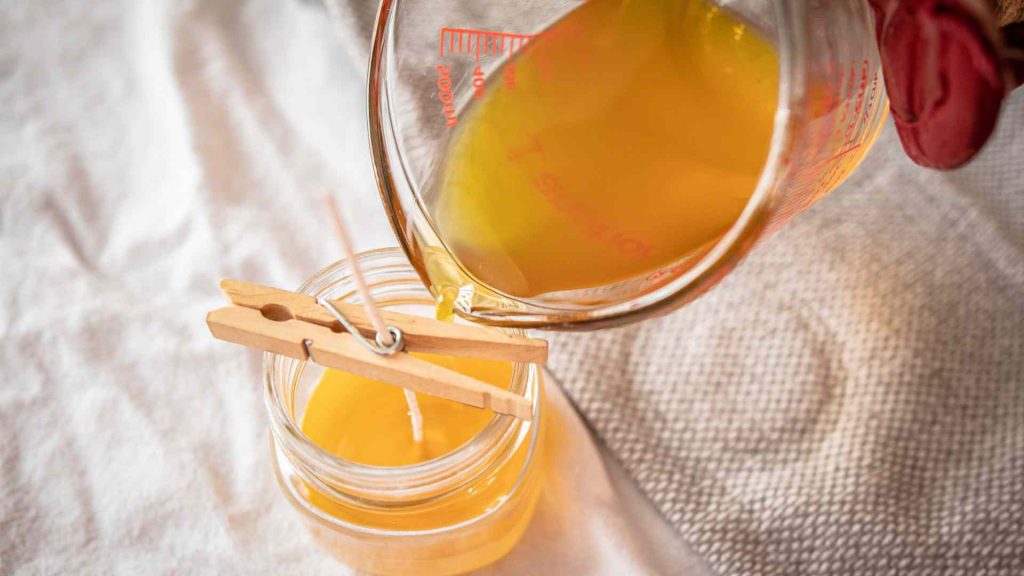
- Thread the wick through a clothespin and rest the clothespin across the jar so the wick stays centered on the top of the jar.
- When the wax and oil is completely melted, slowly pour into the jar. Adjust the wick so it is centered.
- Allow the candle to harden in a warm place. I heat the oven to 150 degrees and then turn it off and leave the candle in there. If the room is too cold, the candle can crack or pull away from the sides of the jar.
- After the candle has hardened, trim the wick to about 1/4″.
- Let the candle cure for 2 days before lighting.


tips for making beeswax candles –
-If you are using blocks of beeswax instead of pellets, you can shred them with a cheese shredder before melting to speed up the process.
-If you are using white beeswax, make sure the beeswax is not bleached.
-See tips above for adding essential oils if you want scented beeswax candles.
-Let the candle harden in a warm place. If it cools too quickly, the wax will crack or pull away from the edges of the jar.
-Keep beeswax candles on hand throughout the house for power outages- we had one today!
-Beeswax can be difficult to wash off your metal or glass pitcher (or whatever you melt the beeswax in). To make it easier, wipe the remaining beeswax out of the pitcher with paper towels right after you pour it into the jar. It might take some scrubbing, but you should be able to wash the rest out with soap and hot water.
-You can use small mason jars, or you can thrift fun glass jars or vintage mugs for your candle container! Just make sure your vessel is made from material that will withstand heat.
using your new beeswax candle –
In order to get the most out of your new beeswax candle, it is best to allow the candle to cure for 2 days before lighting. If it’s burned before 2 days, the wax will still be soft and melt pretty quickly.
Each time you burn you own beeswax candles, it is best to let it the candle burn long enough that the wax around the edges of the jar melts and not just the middle close to the wick. If you blow it out after just a little while each time, your wick will tunnel and you won’t get the long-lasting burn time of a beeswax candle.
Don’t leave your candle unattended while burning.
print the recipe and step by step instructions:

Beeswax Candle
Ditch the toxins found in wax and wicks of commercial candles by making your own DIY beeswax candles! Follow these easy step by step instructions to create naturally beautiful candles that actually purify the air in your home instead of pollute it.
Ingredients
- 6 oz beeswax
- 2 Tbls coconut oil
- Cotton wick
- 8 oz glass jar
Instructions
- Put a few inches of water in a large saucepan and heat on the stove over medium heat. Bring the water to a gentle boil.
- Melt the wax and oil in your metal or glass pitcher inside the sauce pan of water. If the water is going to come over the sides of the pitcher, take some of the water out.
- Stir the wax and oil occasionally with a bamboo skewer. You can also use a spoon, but beeswax is tricky to clean off of utensils, so using something disposable helps with cleanup.
- After the wax has started to melt, dip the metal base of the wick into the melted oil and place on the bottom of the jar. Hold it for a few seconds while the oil hardens, keeping the wick in place.
- Thread the wick through a clothespin and rest the clothespin across the jar so the wick stays centered.
- Thread the wick through a clothespin and rest the clothespin across the jar so the wick stays centered.
- Allow the candle to harden in a warm place. I heat the oven to 150 degrees and then turn it off and leave the candle in there. If the room is too cold, the candle can crack or pull away from the sides of the jar.
- After the candle has hardened, trim the wick to about 1/4".
- Let the candle cure for 2 days before lighting.
Notes
pin it for later:
This was very informative, thank you! I didn’t ever know the reason to add coconut oil. I can’t wait to try this out.
Thanks Courtney! I hope you enjoy it! 🤍🤍
I’m wondering if adding coconut oil will help prevent cracking. I’ve tried making several beeswax candles about 2-1/2″ diameter and 3-1/2″ diameter in a container. They crack badly in the cooling process every time. I’ve tried cooling very slowly in an oven that was turned off with better results but still a bad crack. I tried a second pour and the second pour would crack or separate from the first pour. Tried reheating the candle to melt the edges and the top to fill in all the cracks but it still cracked again when it cooled.
Hi Rhoda – sorry to hear that! Yes, coconut oil would help prevent cracking. Is your wax super hot when you’re pouring? That will also cause the candles to crack.
I am just a beginner and looking for any ideas. Thanks for any help