Traditional Yooper Pasties made with Sourdough Starter Discard Crust
Traditional Yooper Pasties are a classic comfort food. There’s a reason these savory, flaky hand pies filled with meat and vegetables are a household staple in the Upper Peninsula of Michigan.

This post contains affiliate links. As an Amazon Associate, I receive a small commission at no additional cost to you. Read my full disclosure here.
Since I have shared a few times on the blog that I am married to a Yooper, I figured it’s about time I share one of our favorite Yooper recipes! The U.P. is known for their pasties. You don’t have to go very far in the U.P. before you come across a little pasty shop. Grocery stores sell pasties, friends get together to make a bunch of pasties to take home and freeze; it truly is a way of life.
the story of the pasty
The pasty (pronounced “pass-tee”), became popular in the U.P. when mining was really big up there in the mid-1800’s. Miners would take pasties with them down into the mines to eat for lunch because they were easy to transport and contained a whole meal wrapped up in one crust. Down in the mine, they warmed them up on their shovels over a candle. Legend says that the miner’s wives would sometimes fold a savory filling into one end of the pasty and a sweet filling into the other. Then the miners would eat it by holding it in their hands, eating the meat side first, and saving the pie filling side for last.
Pasties were originally introduced here by the Cornish, but the Finnish eventually caught on to the recipe and made it their own, which is how it ended up in the U.P. Traditional Cornish pasties are very similar, filled with beef, potato, onion and rutabaga. But according to the European Union, you can’t call it a Cornish pasty unless it’s made in Cornwall.
traditional yooper pasties
Although I didn’t grow up in the U.P., there were still plenty of times my family had pasties for dinner. I remember loving these savory pies, especially covered in ketchup. It is such a classic comfort food that we loved to make every winter. When I hopped on the sourdough bandwagon a few years ago, I started converting all of my traditional all purpose flour recipes to a sourdough version. This sourdough pie crust is seriously so delicious and works perfectly for these Traditional Yooper Pasties.
sourdough pie crust –
Begin by making the pie dough. The sourdough pie crust recipe uses sourdough discard, so you won’t need to worry about it being a mature sourdough starter. I like to make my pie crust in the food processor.
Begin by adding flour and salt to the food processor and pulse a few times to mix evenly. Then, add the cubed, cold butter. Pulse until the butter is broken down into pea-sized pieces. Finally, add one cup sourdough starter, and pulse again until the dough forms a ball. If the dough is too dry, add ice water, a little bit at a time. If the dough is too sticky, add a little flour and pulse again until combined. Be careful not to overmix the dough – this will cause it to be tough instead of soft and flaky. (Note: You could also use a pastry blender to make this crust instead of a food processor.)


This dough does not require any chill time in the fridge, which is very convenient to not have to plan ahead. After you make the dough, it is ready to be used right away, unless you want the health benefits of allowing the sourdough time to ferment. Fermenting the dough breaks down the gluten in the flour, making it easier to digest. If you prefer the fermented pie crust, cover the dough with a tea towel or a piece of plastic wrap and leave at room temperature for 8 hours or overnight. After you ferment the dough, it can be wrapped in plastic or a beeswax wrap and stored in the fridge for up to 3 days.
This is also a great crust recipe for any pie recipe as well! This crust recipe makes one double pie crust.
traditional yooper pasty filling
Next, make the filling. There are many different fillings you can use for pasties, but my favorite way to make pasties is with ground beef, yellow onion, golden or red potatoes, rutabaga and carrots. Begin by chopping the onion, potatoes, rutabaga and carrots with a sharp knife. The chopped vegetables should be smaller than half an inch. I use potatoes from our garden, so I prefer to just wash them and leave the peels on. If you’re using russet potatoes, it’s best to peel them before chopping. Mix the vegetables and the thawed ground beef in a large bowl. Using a wooden spoon, stir the spices into the meat mixture.


how to make traditional yooper pasties
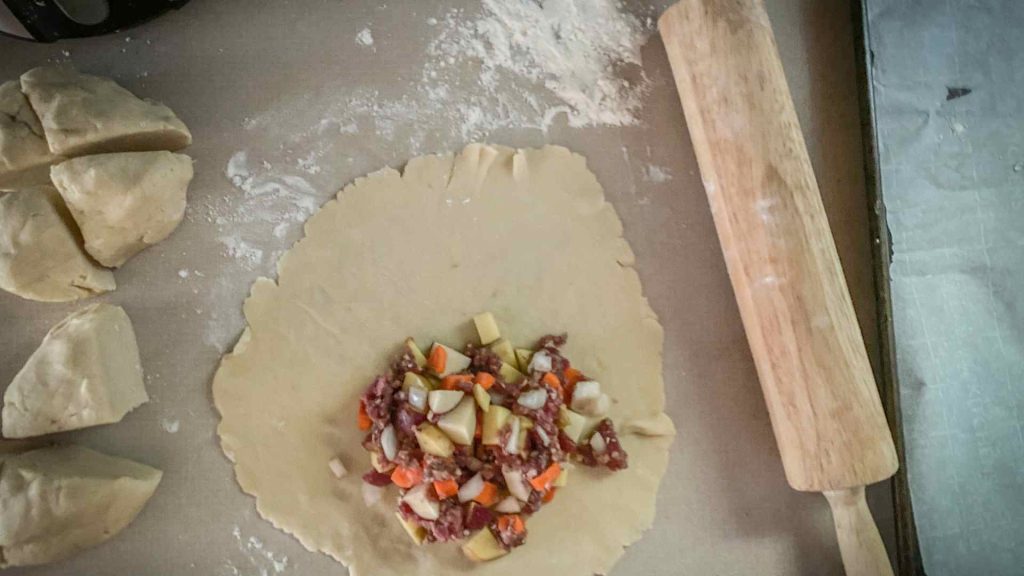
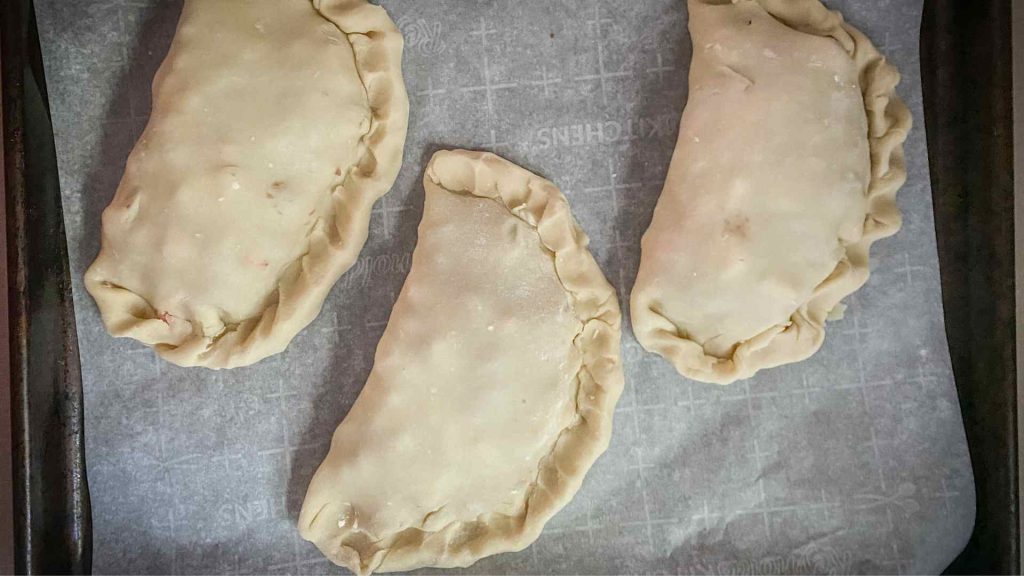
Then it’s time to assemble the pasties. Cut the dough into 8 equal pieces. Using a rolling pin, roll out a piece of dough into a circle. Scoop about one cup of the uncooked meat filling and place it on one side of the dough. Fold the dough over the filling, and crimp the edges with your fingers or the tines of a fork to seal in the filling. Repeat until all 8 pasties are completed.
This process is a great kitchen project for kids to be invited into! Scoop the meat and potato filling onto the dough circle and let the kids fold it over and pinch the dough to seal it shut. It’s totally OK if the pasties aren’t perfect. The beauty of cooking from scratch is that each one will look unique. If the crust tears, gently pinch it back together. I find that whenever kids are helping in the kitchen, they are much more likely to gobble up the food when it’s done with no complaints (usually 😉 ).


baking traditional yooper pasties
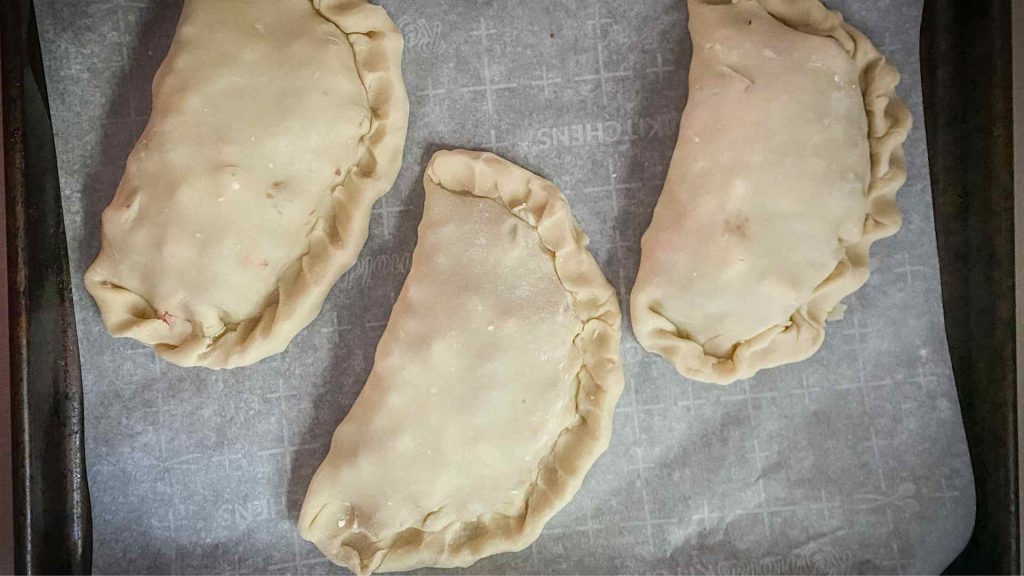
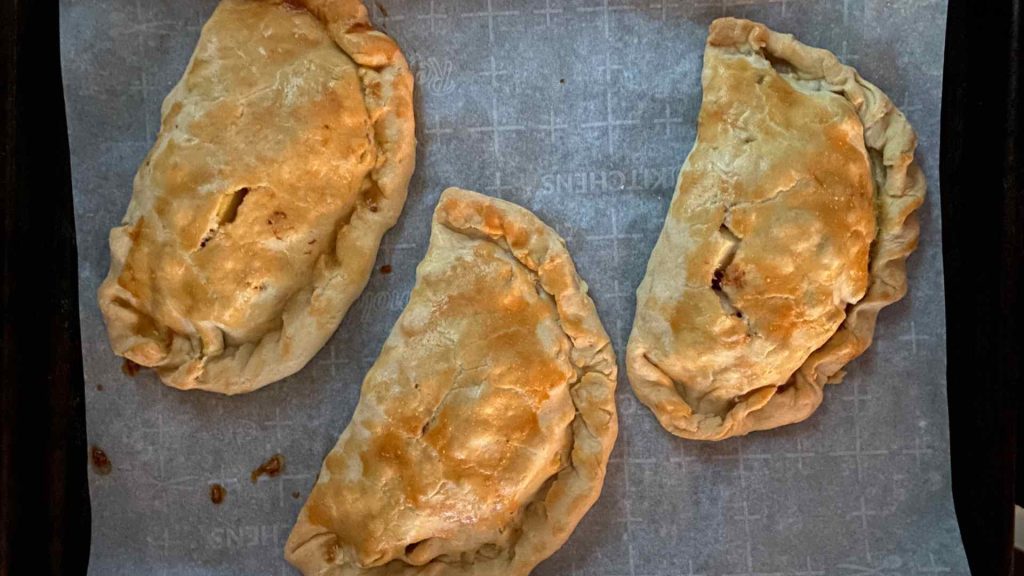
To bake the pasties, preheat the oven to 375 degrees F. Line two baking sheets with big pieces of parchment paper. I find that my baking sheets each fit 3 pasties, so I have to bake a couple rounds since they don’t all fit in my oven at once. If you prefer a shiny golden brown finish on the crust, whisk one egg in a small bowl and brush small amounts of the egg wash onto each pasty. Bake for 40-45 minutes, or until the tops are golden brown and the filling is cooked through.
recipe tips and notes:
- My family doesn’t eat 8 pasties for one meal, but it is so convenient to freeze the leftovers to use at a later date! Just bake all of the pasties according to the directions, then wrap each one of the leftover pasties individually in plastic wrap or foil and freeze in a freezer bag. When you’re ready to use them, take them out of the freezer and bake at 375 degrees F until they are warmed all the way through.
- I’m not sure if this is how the Cornish or the Finnish did it, but all of the Yoopers I know eat their pasties smothered in ketchup.
- Try adding shredded cheddar cheese to the meat mixture for another layer of flavor.
- Instead of 1 lb of ground beef, try 1 lb beef stew meat for a different texture.
- Swap sweet potatoes for the golden or red potatoes, or use all 3.
- Peel and chop a large turnip or other root vegetables and add to the filling mixture!
- Make the crust with 3 cups whole wheat flour instead of 3 cups ap flour for a heartier crust.
- Get creative with the filling! You could use scrambled eggs, ham and cheese for a breakfast pasty. Or try shredded cheese, pizza sauce and pepperoni for pizza pasties!
- Instead of a savory filling, use pie filling of any kind for a delicious dessert pasty. One of our favorites to make with this sourdough pie crust is a Cinnamon Spiced Apple Pie Pasty in the fall. It totally tastes like Autumn and makes the house smell so delicious.
make ahead to freeze or share
Because this is such an easy freezer meal, you might even want to double or triple the recipe and store some in your freezer to last through the winter. Pasties are an excellent choice for a busy weeknight when you forget to prep dinner ahead of time, or a quick option for a hearty lunch that will leave everyone satisfied. I recently brought a bag of frozen pasties to a postpartum mama after she delivered her third baby, and she was so thankful to have some healthy meals to feed her family during this busy time.
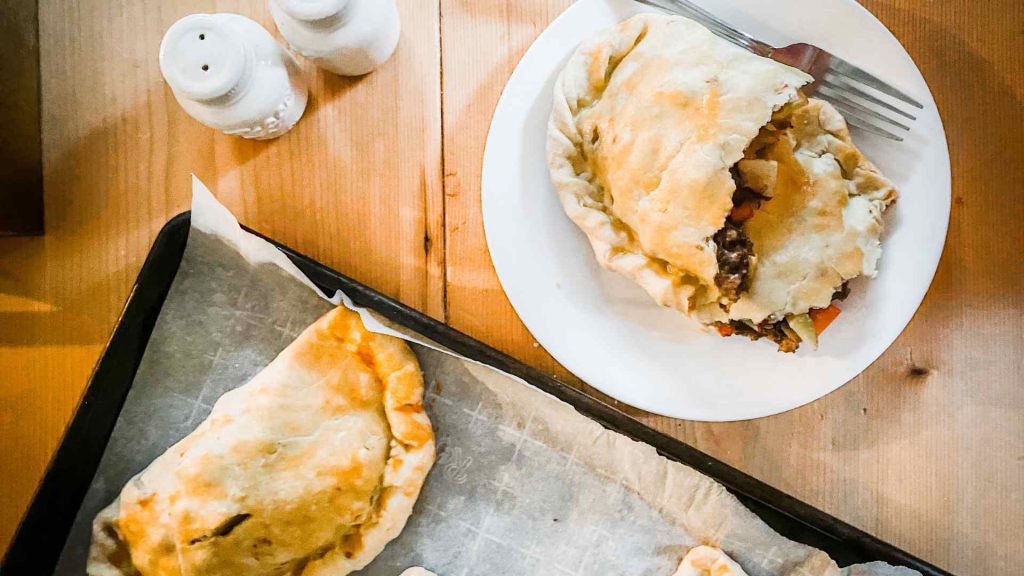
This is also a great recipe to get together and make a huge batch with friends! Everyone can bring one or two ingredients and enjoy spending an afternoon together making pasties. The best part – everyone goes home with a few meals worth of delicious pasties for their family to enjoy throughout the winter. Pasty parties like this are common in the U.P. You should try it sometime!
I hope you enjoy these delicious Traditional Yooper Pasties made with sourdough starter discard. Our family loves this Upper Peninsula comfort food, and I’m confident yours will as well. I would love if you would leave a comment and review if you try it!
print this recipe –
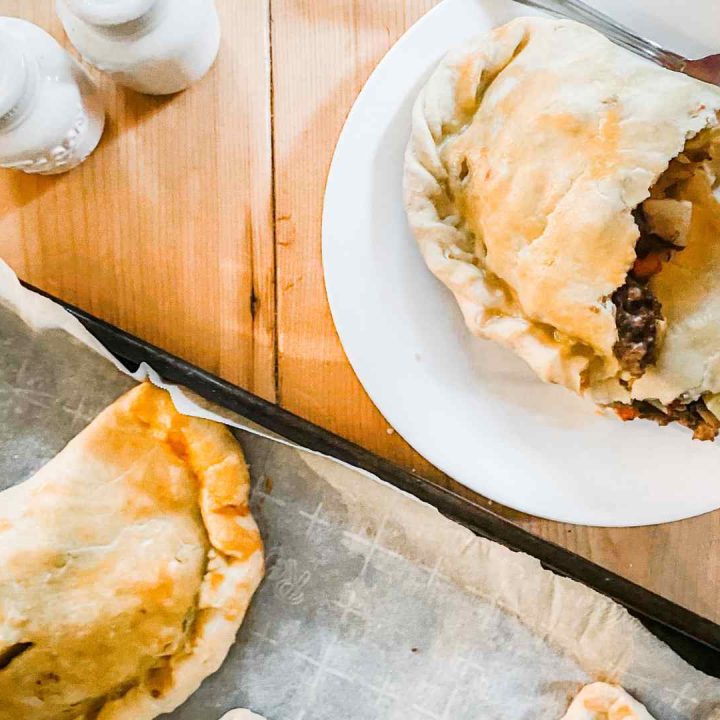
Traditional Yooper Pasties with Sourdough Starter Discard Crust
Traditional Yooper Pasties are a classic comfort food. There's a reason these savory, flaky hand pies filled with meat and vegetables are a household staple in the Upper Peninsula of Michigan. So delicious and easy to make, this is a recipe your family will love.
Ingredients
Sourdough Pie Crust
- 3 cups flour
- 1 1/4 cups cold butter
- 1 1/2 teaspoons salt
- 1 cup sourdough discard
Pasty Filling
- 1 lb ground beef
- 4 cups golden or red potatoes
- 2 medium onions
- 1 rutabaga
- 4 carrots
- 3 teaspoons salt
- 2 teaspoons black pepper
- 2 teaspoons garlic powder
- 1 egg (for egg wash, optional)
Instructions
- Preheat oven to 375 degrees F.
- Start by making the sourdough pie crust. Begin by adding flour and salt to the food processor and pulse a few times to mix evenly. Then, add the cubed, cold butter. Pulse until the butter is broken down into pea-sized pieces.
- Add one cup sourdough starter, and pulse again until the dough forms a ball. If the dough is too dry, add ice water, a little bit at a time. If the dough is too sticky, add a little flour and pulse again until combined.
- Next, make the filling. Chop the potatoes. Peel and chop onions, rutabaga, and carrots. The chopped vegetables should be smaller than half an inch.
- Mix the vegetables and the thawed ground beef in a large bowl. Using a wooden spoon, stir the spices into the meat mixture.
- Now it's time to assemble the pasties. Cut the dough into 8 equal pieces. Using a rolling pin, roll out a piece of dough into a circle. Scoop about one cup of the uncooked meat filling and place it on one side of the dough. Fold the dough over the filling, and crimp the edges with your fingers or the tines of a fork to seal in the filling. Repeat until all 8 pasties are completed.
- Line two baking sheets with parchment paper. Place 3 or 4 pasties on each cookie sheet (as many as you can get to fit). If you prefer a shiny golden brown finish on the crust, whisk one egg in a small bowl and brush small amounts of the egg wash onto each pasty.
- Bake for 40-45 minutes, or until the tops are golden brown and the filling is cooked through.
Notes
My family doesn't eat 8 pasties for one meal, but it is so convenient to freeze the leftovers to use at a later date! Just bake all of the pasties according to the directions, then wrap each one of the leftover pasties individually in plastic wrap or foil and freeze in a freezer bag. When you're ready to use them, take them out of the freezer and bake at 375 degrees F until they are warmed all the way through.
I'm not sure if this is how the Cornish or the Finnish did it, but all of the Yoopers I know eat their pasties smothered in ketchup.
This is a great recipe as is, but here are a few different ways you could mix it up!
-Try adding shredded cheddar cheese to the meat mixture for another layer of flavor.
-Instead of 1 lb of ground beef, try 1 lb beef stew meat for a different texture.
-Swap sweet potatoes for the golden or red potatoes, or use all 3.
-Peel and chop a large turnip or other root vegetables and add to the filling mixture!
-Make the crust with 3 cups whole wheat flour instead of 3 cups ap flour for a heartier crust.
-Get creative with the filling! You could use scrambled eggs, ham and cheese for a breakfast pasty. Or try shredded cheese, pizza sauce and pepperoni for pizza pasties!
-Instead of a savory filling, use pie filling of any kind for a delicious dessert pasty. One of our favorites to make with this sourdough pie crust is a Cinnamon Spiced Apple Pie Pasty in the fall. It totally tastes like Autumn and makes the house smell so delicious.
pin this recipe for later –


I have never heard of yooper pasties, but they look and sound delicious. Apparently just one more reason to start a sourdough starter!
Yes, totally! I sell mine dehydrated in my Etsy shop if you’re looking for a great sourdough starter!
https://www.etsy.com/listing/1092682207/dehydrated-sourdough-starter-san?click_key=14bd8853c534c3589ac179e351f56db266d41206%3A1092682207&click_sum=e2ff9496&ref=shop_home_active_2
These look amazing! I always love a new sourdough recipe to try! Printed to try soon, thank you!
For sure! I hope you love it!! 🙂
I love perogies and these seem like a healthier, tastier big step up
These look great! I’m a yooper and have been making pasties for awhile, my MIL is an amazing pasty maker but I also make sourdough bread weekly for my family so I love how you combined them! For all those who have never eaten pasties they are the best served with ketchup in my opinion! Also breakfast pasties are amazing as well a lot of local restaurants in the UP have them! I highly recommend trying them! Just fill with your favorite breakfast meat and eggs and cheese and whatever else you would like!
Thanks Jade!! Love the breakfast pasty recommendation 🙂 Sounds so good! Also, yes- ketchup is a must!
Do you cook all the filling mixture first before assembling the pasty?
Nope, the filling goes in raw and cooks along with the crust.